Sunday, May 30, 2010

An Apple a Day!

I love this fabric! The straps are sewn on the outside of the bag instead of between the outer and lining this time.  I decided that at kind of the last minute - otherwise I probably would have made the straps longer. But it is sewn prior to adding the lining, not through the lining.  Next time I think I'll make them longer, put them on the outside and stretch the pocket between the straps on the front.


Get a closer look - check out the lining - it's so cute and works so well with the other two fabrics.

Notice the apple quilting design? I made it in my digitizing software.

Tuesday, May 25, 2010

A "Speedway" original just in time for the race!


This bag is unique! And finished just in time for this weekends Indy 500!


I made the quilting patterns in digitizing software I purchased with some embroidery designs. On the large checks is an Indy Car design very much like one in a logo used by IRL. On the smaller checks at the bottom I digitized and created the quilitng outline of crossed flags.


Thursday, May 20, 2010

Spring Tote becomes Summer

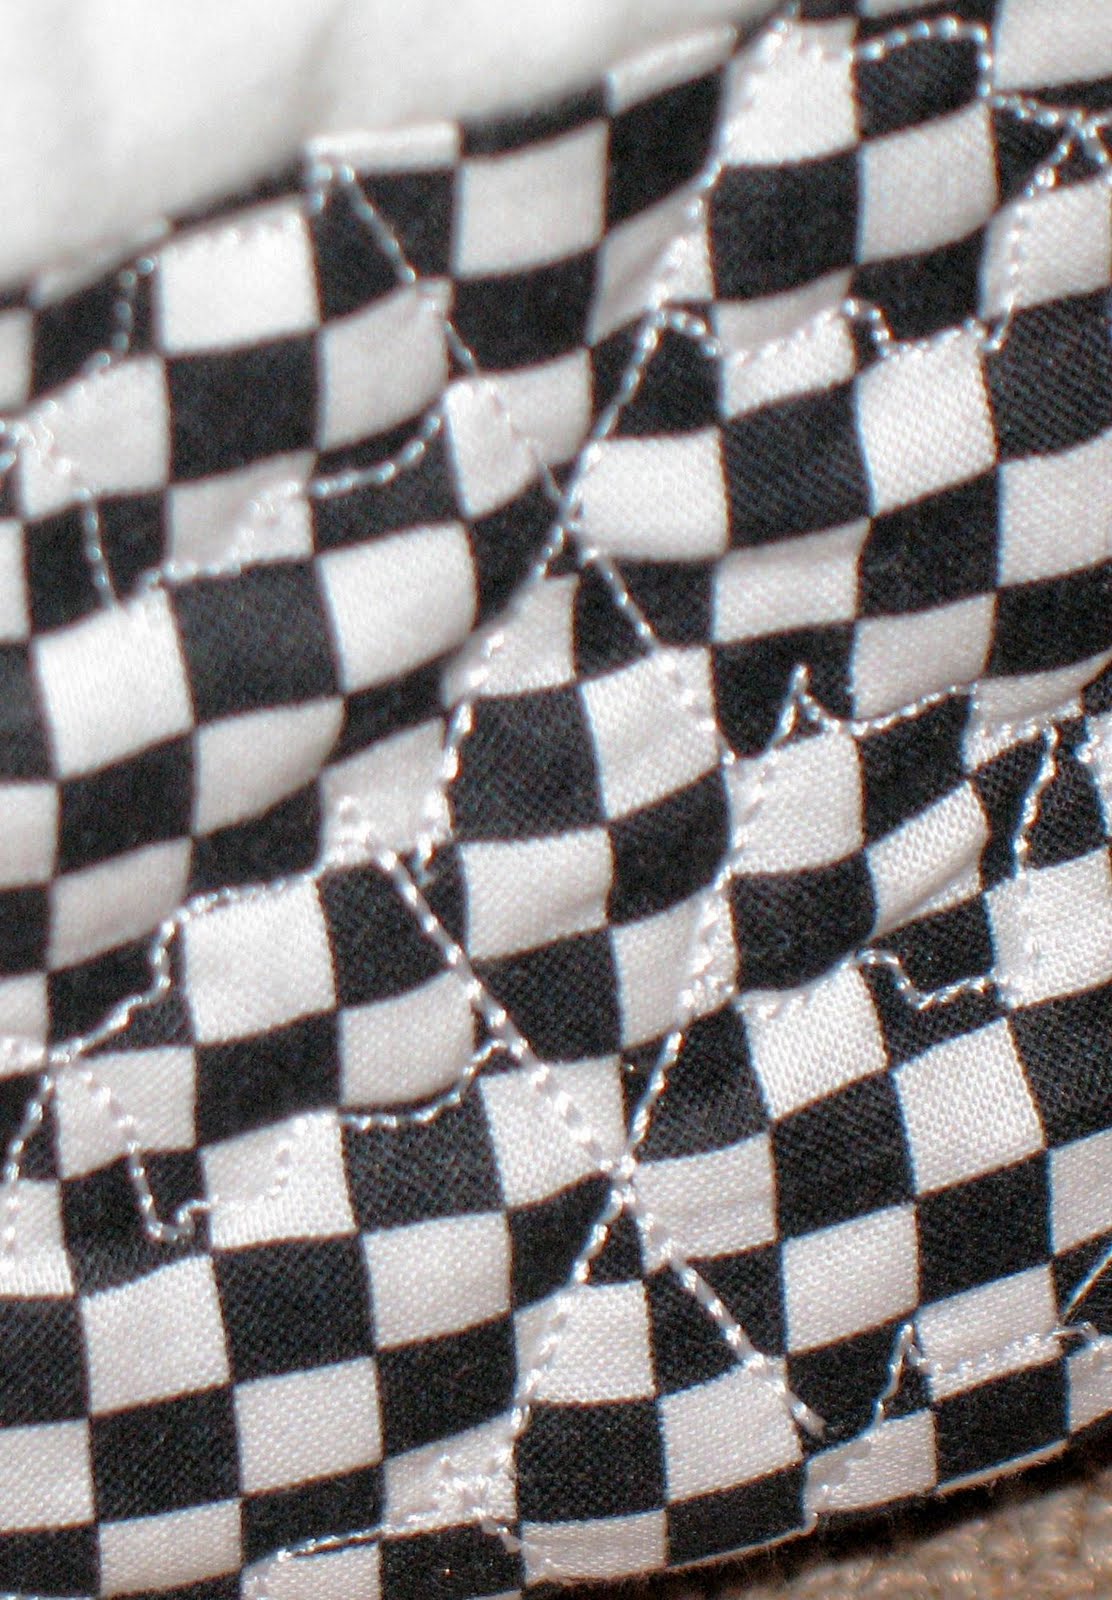
Just finished last night, from the April 2010 magazine Quilter's World, this is my take on "Spring Tote" (page 25-27).

I grabbed a couple of fat quarter bundles I had picked up - I just love the bright colors and floral pattern. With these bright colors, though, spring is not exactly what comes to my mind. So this Spring tote becomes a summer tote!

I made a couple of minor adjustments - I didn't add the tab and button, though I may live to regret that, and I enlarged the pocket on the inside, stitching down the center making it two pockets. And my quilting is a little different - in the red block I used a quilt pattern on my embroidery machine and repeated it all over - on the strips I stitched a straight line on top of the pressed back seam allowance - I always like quilting on top of that. I feel it gives it a bit more re-enforcement - then crossed it with lines at somewhat random distances vertically.

When you are working with fat quarters, the size of the cuts are not always exactly what you need so you have to get alittle creative. I chose the blue floral for the lining in contrast to the primary red fabric in the outer body. Since I didn't have enough, though, I added the blue fabric with the cirlces as a strip across the bottom and as the pocket. The picture to the right is the lining pulled out and laid as flat as I could to get a good look at this.

Wednesday, May 19, 2010

Placemates - the Prequel

This was my first "real" project - something more that just putting an embroidery design on the front of a shirt or bottom of a towel. I made these four coordinating placemats for my mother. My first time combining sewing and piecing with embroidery and quilting.


Tuesday, May 18, 2010

Call me the bag Lady!


While browsing in a quilting shop one day I fell in love with this set of coordinating material and purchased 1/2 yard each of three coordinating patterns. I didn't even have an idea what I would do with it yet.

One of the many magazines I have picked up since getting my new toy is the Winter 2009 Better Homes and Gardens Creative Collection Quilts and More. I found the directions for "Curve Appeal" (page 14-19), a bag I thought would look great in these fabrics and my daughter would like. My intent was to make her a bag for carrying groceries - she always uses cloth bags to bag her groceries.

So, I made my first bag. the original directions called for just two fabric patterns, but I decided on a third for the lining - which is the same pattern as the body top in different color combination - a negatvie/positive match. It was a little smaller than a grocery bag, but I thought it would be good for a few special items - especially considering the padding - a wine bottle or two that might benefit from the extra protection. But as soon as I gave it to her she dumped the entire contents of her purse into it and has been carrying it ever since.

Within a week she had texted me that two of her friends loved it so much they wanted one themselves - and would pay for it. So, I made each of them one (no money exchanged hands - I did it just to get the experience and practice - it's a past time for me!).
And so started a trend - I have just this weekend finished my seventh of that particular bag, plus another of a different style and have just started a new style bag I hope to finish by this coming weekend - all lovingly made for and given to friends!

I didn't have the presence of mind to take a picture of all the bags - but I have collected a few pictures of them - some taken with a cell phone camera so don't expect the quality to be great in all of them.


The start of it all - My Brother Sewing Machine

Last fall my daughter asked me to make a rainbow bright costume for her step daughter for halloween. Knowing that my old sewing machine has seen better days - especially before sewing the duck tape Tuxedo (another story entirely) and realizing that this costume would likely need some pretty special sewing, I decided a new machine was in order. My husband, being an avid follower of Consumer Reports, suggested the Consumer Reports "Best Buy" brother basic sewing machine which we picked up at the local discount department store for less than $200.

It sewed so easy and so beautifully! I was almost giddy. So, my husband recommended another Consumer Reports approved Brother product - the basic level sewing/embroidery machine. I gave the first Brother sewing machine to my daughter and purchased this beautiful starter embroidery machine - the Brother Innovis-900. It sews as well or better than the original machine I purchased and additionally will embroider designs up to 4" x 4".

It has been incredible and fun! I started buying up designs, online and in the sewing shop where I purchased the machine. I started collecting magazines - old and new - machine embroidery, quilting, and a couple of sewing titles. And I throw fat bundles, jelly rolls, and single cuts of what ever fabric that catches my eye and/or is being clearanced out at fabric stores and departments whereever I find myself. And hours and hours of sewing and embroidering! I think my husband might be starting to regret his recommendation a little.

Now I want a bigger machine - one that embroiders a bigger field - but I'll save that for another story, too. For now, here's (all over this blog) some pictures of what I've been making with my Brother (machine)!